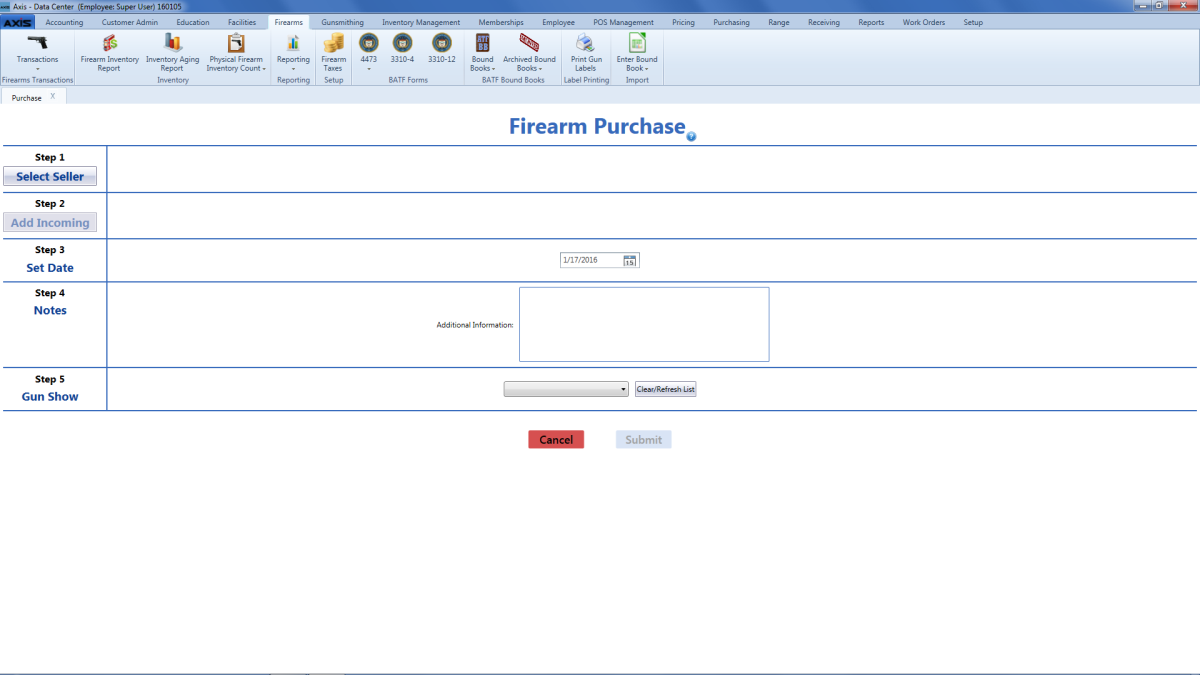
![]() Navigate to the Firearm Purchase screen.
Navigate to the Firearm Purchase screen.

- Click the Select Seller button to display the Customer Look-up window.
Note: Be sure all customer information is correct. Incorrect customer information may create errors in the Bound Book.
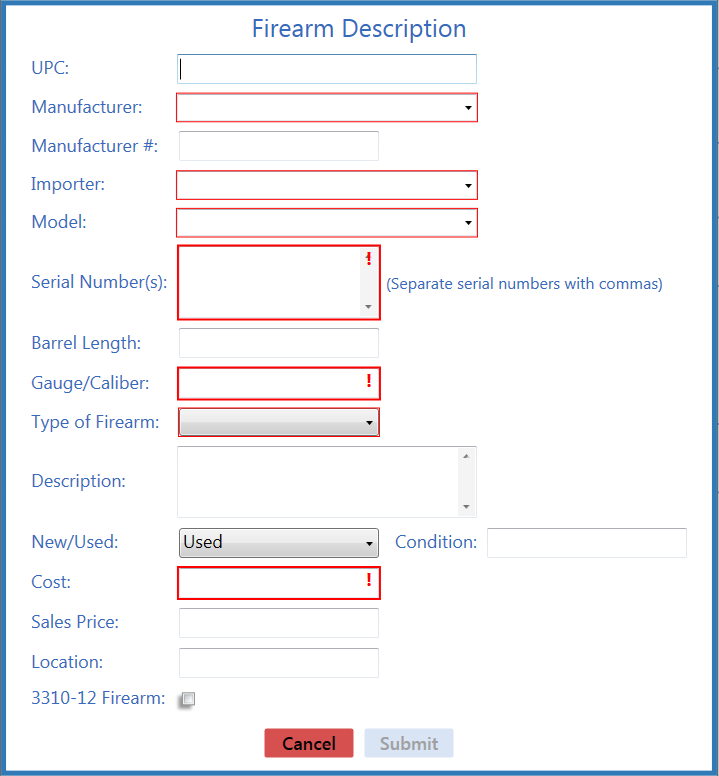
Complete the following procedures as appropriate to add incoming firearm information:
|
|
|
Enter the transaction date (mm/dd/yyyy) or Select a Date with the calendar button in the Set Date field.
Note: This is the date of the acquisition.
- If needed, enter transaction notes in the Additional Information field.
If the transaction occurred at a gun show, select the gun show from the Gun Show drop-down field.
Note: If the gun show is not available in the drop-down, create it before completing this firearm transaction. Refer to Manage Gun Show Information for more information.


