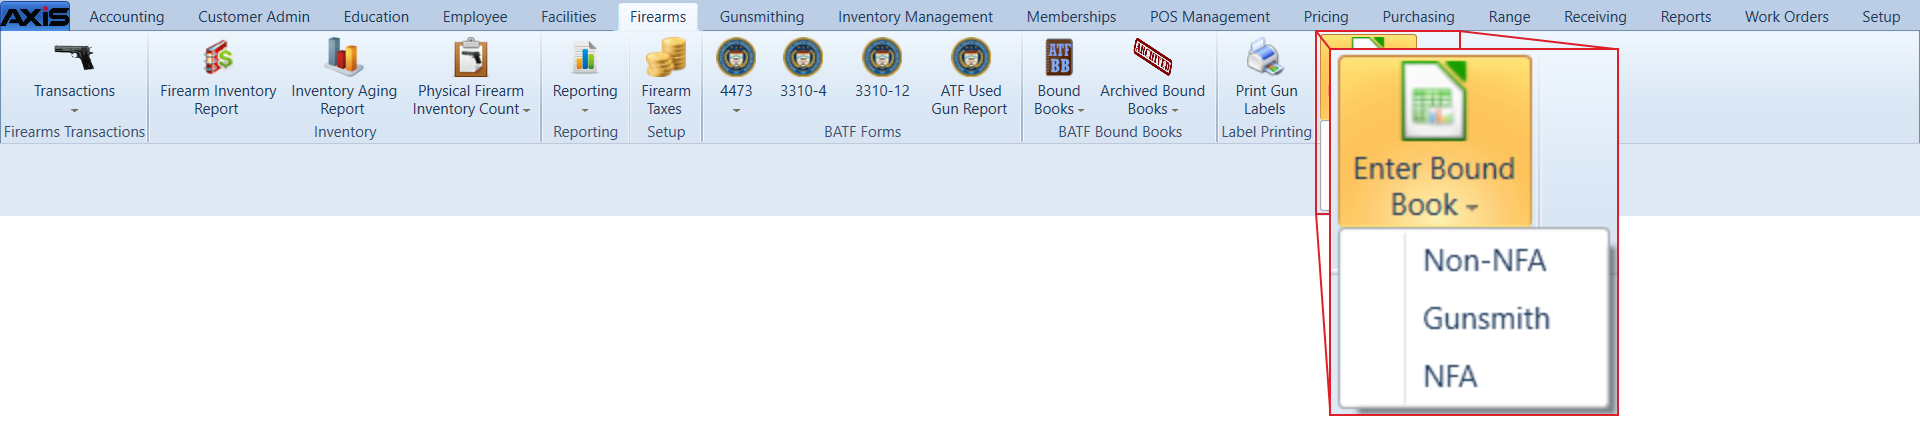
![]() Navigate to the desired Import data from Excel screen.
Navigate to the desired Import data from Excel screen.
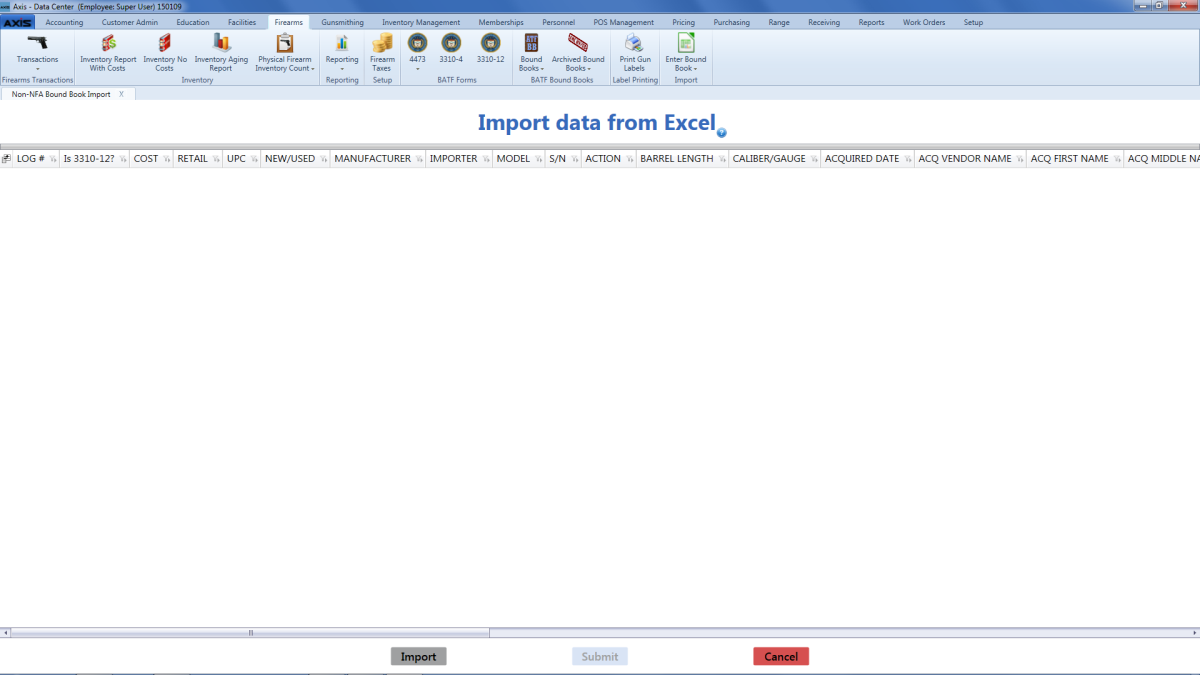
Right-click on the list to display a Save Template option.

Click the Save Template option to display a Save As window.
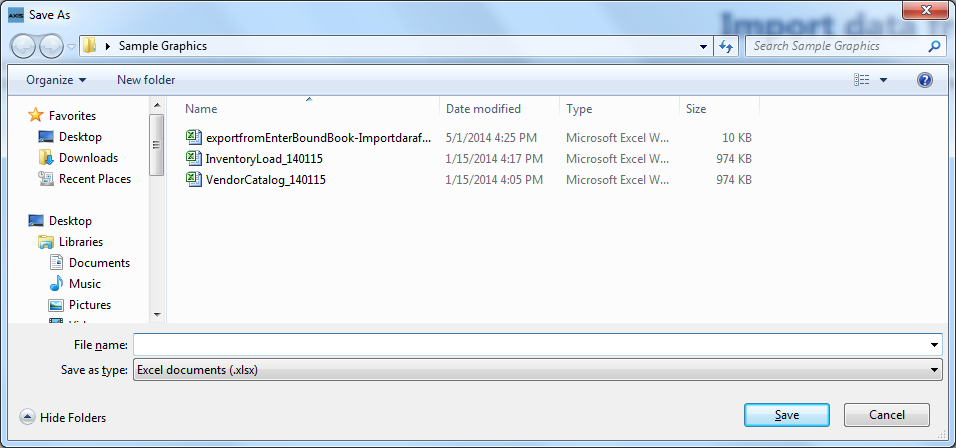
Complete the following procedure to save the template (Excel file):
- Browse to the desired location.
- If needed, enter/edit the document name in the File name field.
-
Click the Save button to save the document as an electronic file.
Populate the Excel file with firearm information.
Note: The file must adhere to the validation requirements indicated below:
- No entry may have the same value for Log # as any other entry in this file or already in the system.
- A UPC must be a 12-digit number.
- The New/Used, Manufacturer, Importer, Model, S/N (serial number), Action, Caliber/Gauge, and Acquired Date columns are required.
- Any entry in the Action column must conform to the selected Bound Book: The NFA book only accepts NFA options, the Non-NFA book only accepts non-NFA options, and the Gunsmith book accepts all firearm types.
- The system requires that either the ACQ Vendor Name column or the ACQ First Name and ACQ Last Name columns are populated.
- Any entry in the ID Type In or the ID Type Outcolumn must exactly match one of the types defined on the Identification Types screen. (Select Setup > Identification Types to view this screen.)
- If an entry's Disp Date column is populated, the system requires that either the Disp Vendor Name column or the Disp First Name and Disp Last Name columns are populated.
Save the populated Excel file.
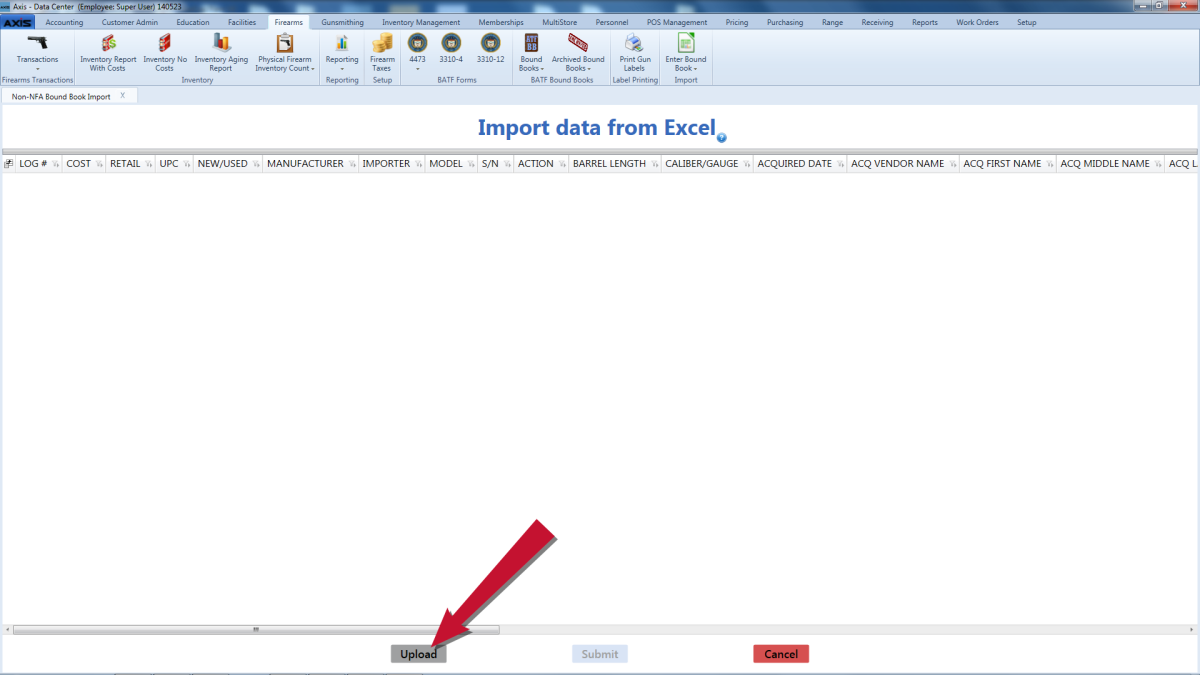
Click the Upload button on the Import data from Excel screen to display the Load Excel Import window.
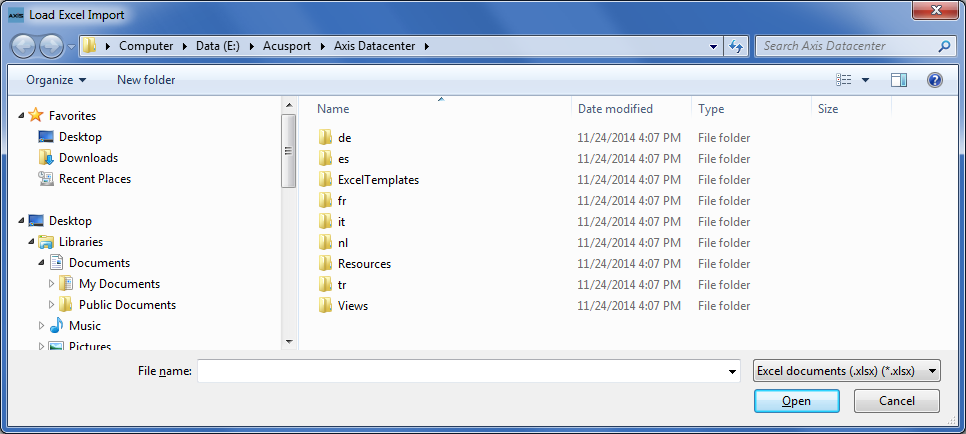
Double-click the saved Excel file to select it and start the import process.
Note: This process will overwrite any information that was previously on the screen.
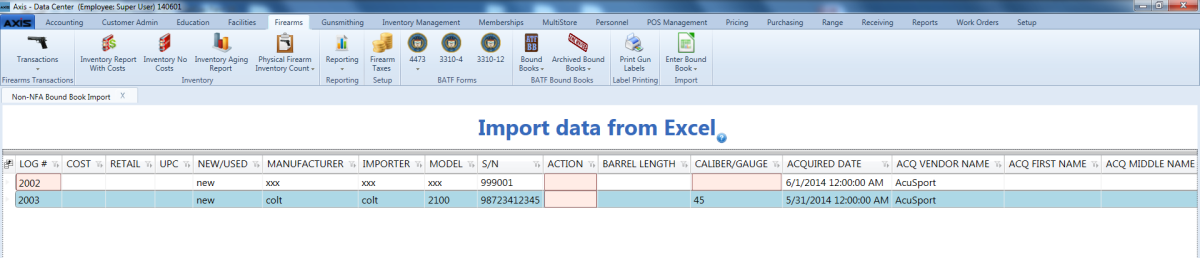
When the import is complete, the system displays the uploaded information on the Import data from Excel screen.
Note: If the system detects any errors with the uploaded data, it highlights the cells containing bad or missing information.
Locate and fix any validation errors.
If the system detects validation errors, it displays an error message window.

Click the Close button to return to the Import data from Excel screen without updating the associated Bound Book and fix any outstanding validation errors as needed.
When the import is complete, the system displays an informational window.

Click the Close button to close the window and screen